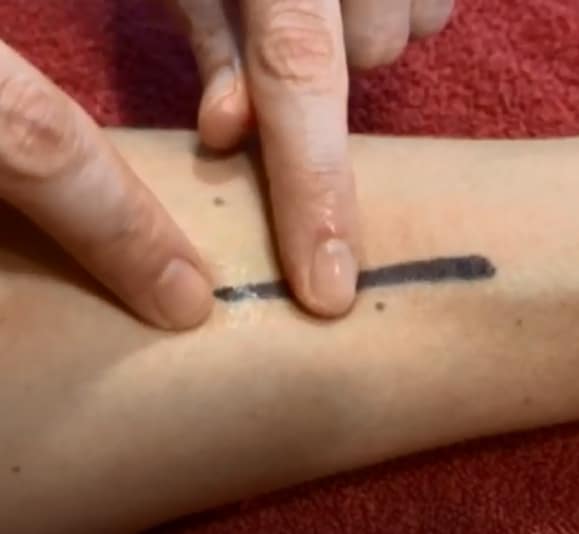
In this video, I’ll talk a little bit about how scars are formed using the Under Your Skin cartoon (and if you want to read the cartoon, you can find it here) and then I’ll demonstrate four techniques that you can use to massage your own scars. I’m a big fan of self-massage, and I think it’s a wonderful way that we can help comfort and support our own bodies.
**And if you want to skip my nerdy first bit and get right into the self-massage, the massage portion starts at 6:53 in the video.**
A few notes on when NOT to perform self-scar massage:
- if you have any areas of open skin (incisions that are not closed, if scabs are present, if there is any blistering)
- if you are experiencing any signs of infection (unusual redness, warmth, or oozing in the area of the scar)
- if you’re not feeling well overall
A few pointers to keep in mind:
- Wait at least 3 weeks following surgery or radiation before doing scar massage, or when incisions are completely closed up, the scabs have shed, and any blistering that may have occurred has resolved.
- Keep your pressure gentle; you don’t need much. If you’re working in an area where lymph nodes have been removed or radiated, you’ll want to be especially conservative.
- This work should not cause any pain or reddening of the skin.
- As you’re working along a scar, you may feel some areas that are harder or more dense than others. When you get to a denser area, pause and gently (again – no pain! no redness!) push into that resistance a little, and wait. Hang out with that portion of the scar for a minute or two and let the tissue soften under your touch in that little area before you move on.
If you have questions or comments about this tutorial, please contact me. – I love feedback! I am also available as a virtual coach via Zoom if you would like customized instruction, since everyone’s bodies, everyone’s scars can be different, and modifications can be made to accommodate your individual needs.

